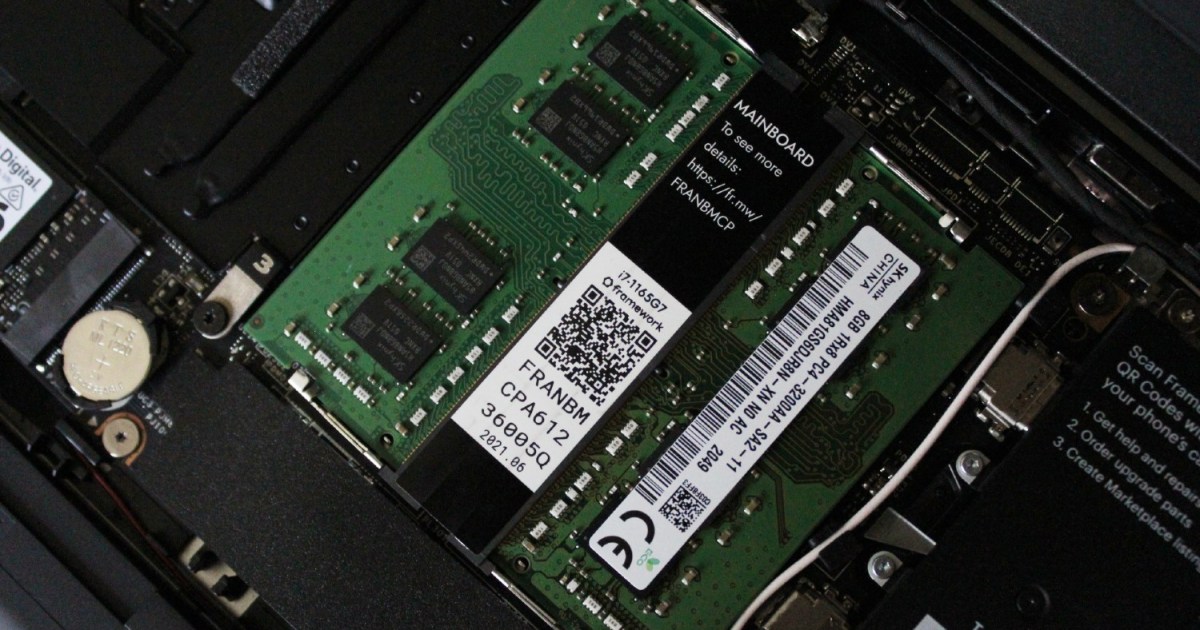
Is your trusty laptop feeling a bit sluggish lately? Is it overwhelmed when too many tabs are open? Upgrading your RAM might just be the solution.
RAM, or Random Access Memory, plays a crucial role in your computer’s performance. When it runs out of physical memory, it starts swapping data to your hard drive, drastically slowing down processes. Here’s how to when it’s time to upgrade your laptop’s RAM and how to install it yourself.
Install your new laptop RAM
As long as you follow the instructions carefully, you will be able to install new RAM on your laptop yourself without any advanced tech knowledge. Before you start, however, skip down to the bottom of this article for more information on how to check your RAM usage, how to know if your laptop can be upgraded, and how to select the right kind of RAM.
It should be noted that the internals of laptops are varied in terms of design. The following steps are general advice that should apply to most laptops, though the details will differ from laptop to laptop.
- Turn off your laptop and ensure it is unplugged from any power source.
- Turn your laptop over so you can identify and unscrew any screws that will allow you to take the base plate off.
- SODIMM memory sticks are often held in by clips. Locate these and remember to hold RAM by the edges rather than covering the gold connectors.
- Remove the old RAM from your laptop by releasing the clips holding the RAM in place.
- Insert the new RAM by holding it by the sides at an angle; the pins should align with those in the slot.
- Press down firmly on the new RAM until it clicks in place under the clips.
- Replace the base plate and screw it back on.
-
Turn your laptop on and navigate to Settings > System > About. Here ,you should see the full amount of RAM installed. If it is incorrect, you’ll need to repeat the above steps to reseat the RAM.
Check your current RAM usage
Those are the basic instructions, but there’s much more to know before you go out and buy some new sticks of RAM. Begin by checking your laptop’s memory usage. With your most demanding workload open and running, open up Windows Task Manager to check and see if need more. Here’s how to open it:
- Right-click the taskbar.
- Select Task Manager.
- Click on the Performance tab.
Here, you can see how much memory is being used compared to the total amount of RAM available. If you’re nearing the limit, upgrading might significantly improve performance.
Find out if you can upgrade
Next, you need to know if upgrading the RAM on your laptop is even possible. Not all laptops allow RAM upgrades; some have sealed bottoms or soldered memory. If you’ve got a recent MacBook or another compact laptop, for example, you’re probably out of luck.
You can use tools like Crucial’s Memory Advisor or refer to your laptop’s documentation to determine if an upgrade is possible. Identify the type and speed of RAM your laptop supports (DDR2, DDR3, DDR4, or DDR5) and the maximum capacity. If you can access your memory, you’re all good to go.
Purchase RAM that’s compatible with your laptop
Now that you know the type and speed of RAM your laptop can support, it’s time to purchase that RAM for your laptop. While it’s not necessary to purchase a matching pair of memory sticks, dual-channel RAM does offer increased performance. It also eliminates any potential compatibility conflicts.
You can purchase RAM to upgrade your laptop from the manufacturer’s website, or via online retail stores like Amazon or Best Buy.
Editors’ Recommendations


