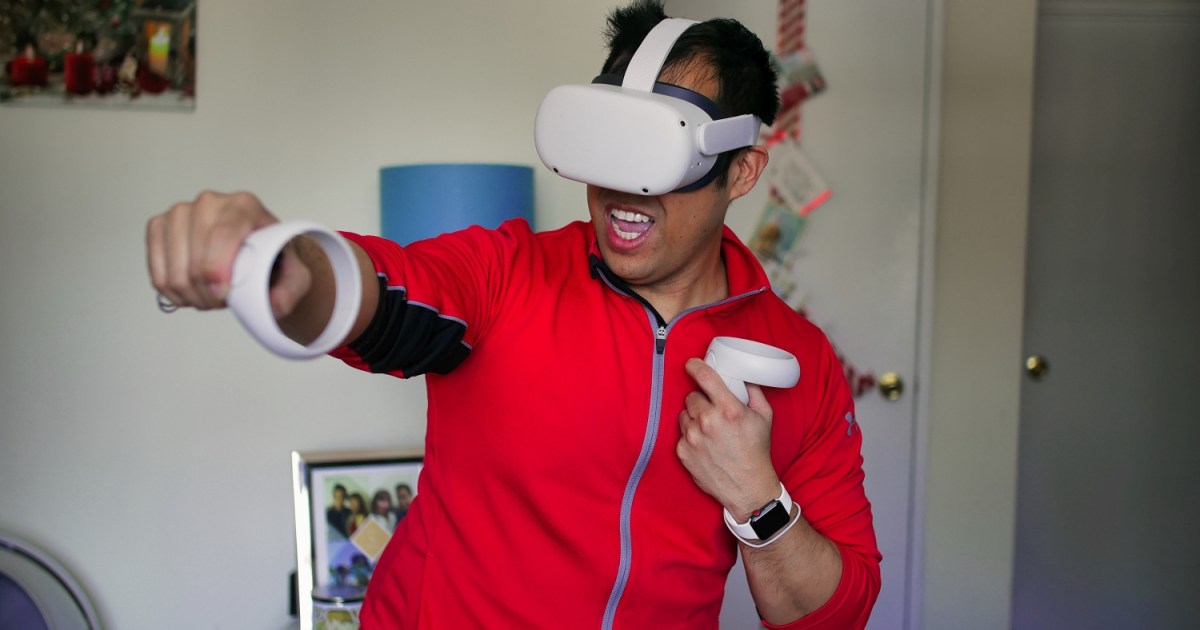
Connecting your Oculus Quest 2, or Meta Quest 2, to a PC is straightforward and you even get the option of connecting over a wired connection or wirelessly, using Air Link. This opens up a wider category of VR games and experiences to enjoy, as well as greater processing power if your PC has a high-powered graphics card on board.
Here’s how to connect your Quest 2 headset to your PC in just a few steps.
Connect a Meta Quest 2 to a PC: Using Oculus Link
If you’d prefer to use a wired connection, follow the steps below to connect your Oculus Quest 2 to a PC via Oculus Link. This method should work for both Oculus Quest and Quest 2 headsets. You can use the official Oculus Link cable, or a high-quality USB-C 3.0 cable. Do check individual reviews of third-party cables, though, as not all of them are rated for VR performance.
Step 1: Review the compatibility requirements to make sure that your PC and headset meet all of the hardware and software requirements.
Step 2: Go to the Oculus app on your computer and power on your headset.
Step 3: You’ll need to plug in one end of the USB or Oculus Link cable into your PC’s USB 3.0 port. The other end should then be plugged into your headset.
Step 4: In virtual reality, you’ll see an “Allow Access to Data” prompt. Be sure to select* Deny*.
Step 5: When you see the Enable Oculus Link prompt, choose Enable.

Connect an Oculus Quest 2 to a PC: Using Air Link
If you’d prefer to use a wireless connection and you have a Quest 2 headset, follow the steps below to connect your headset via Air Link. This method only works for Quest 2 headsets. You’ll need to make sure that your Quest 2 and that the Oculus app on your PC are both updated to version 28 (v28) or later.
Step 1: Make sure your PC is connected to the same network as your Quest 2. Then, on your PC, navigate to the Oculus app and turn on your Quest 2 headset.
Step 2: Put on your headset and then press the Oculus button on the right Touch controller to bring up the universal menu.
Step 3: Open the Quick Settings panel and select the Settings cog.
Step 4: Select Quest Link from the left-hand menu.
Step 5: Select Launch Quest Link. If necessary, toggle it to On, first.
Step 6: Toggle Use Air Link to On.
Step 7: Select your PC from the list of “Available PCs” and select Pair.
Step 8: A pairing code will be shown in your headset. Take off your headset and confirm that the code is the same on your computer screen. Then select Confirm on the desktop app.
Step 9: Next time you want to launch your Quest 2 using Airlink, you can simply launch it from the Quick Settings menu in the future.
Quest 2 PC FAQ
Should you connect using a USB-C cable or Air Link?
If you want the best performance, the link cable or any high-quality USB-C cable will give you lower latency and a higher bitrate than using Air Link, so the image quality will be better and the VR experience will feel more responsive. However, there’s nothing quite like the freedom of wireless VR, so consider your own preferences when deciding.
Why should I connect my Quest 2 to a PC?
Although the Quest 2 has a number of amazing games and experiences to enjoy, its onboard processing can’t compete with the power of a desktop computer or laptop with a powerful graphics chip and processor. That means that the games and experiences you enjoy while connected to a PC can have much better visuals and really show you what VR can do. There are also VR apps and experiences which are only available on PC, so you get access to a wider array of content when connecting your Quest 2.
Now that you’ve had a taste of PC-powered virtual reality, does it make you tempted to upgrade to a dedicated PC VR headset? Here are the best VR headsets you can buy today.
Editors’ Recommendations


